Description
- 1D & 2D measurement
- Air bearings to the base and the Z-axis carriage
- Air bearings to the counterbalance
- The squareness of front and side planes within 5.0 microns
- The motorised probing operation is driven through a contactless eddy current clutch
- Pneumatic locks to the counterbalance
- Probe contact pressure of 40 grams (adjustable)
- Integral printer (optional)
- Orbital “Hole in the wall” display
- Dual Probe facility as standard
- Unique probe location and securing system
- Latest rechargeable battery technology, continuous usage in excess of a normal shift
- Performance supported by a UKAS Certificate of Calibration
- Patented System
- Battery life 10 hours
Technical Specification
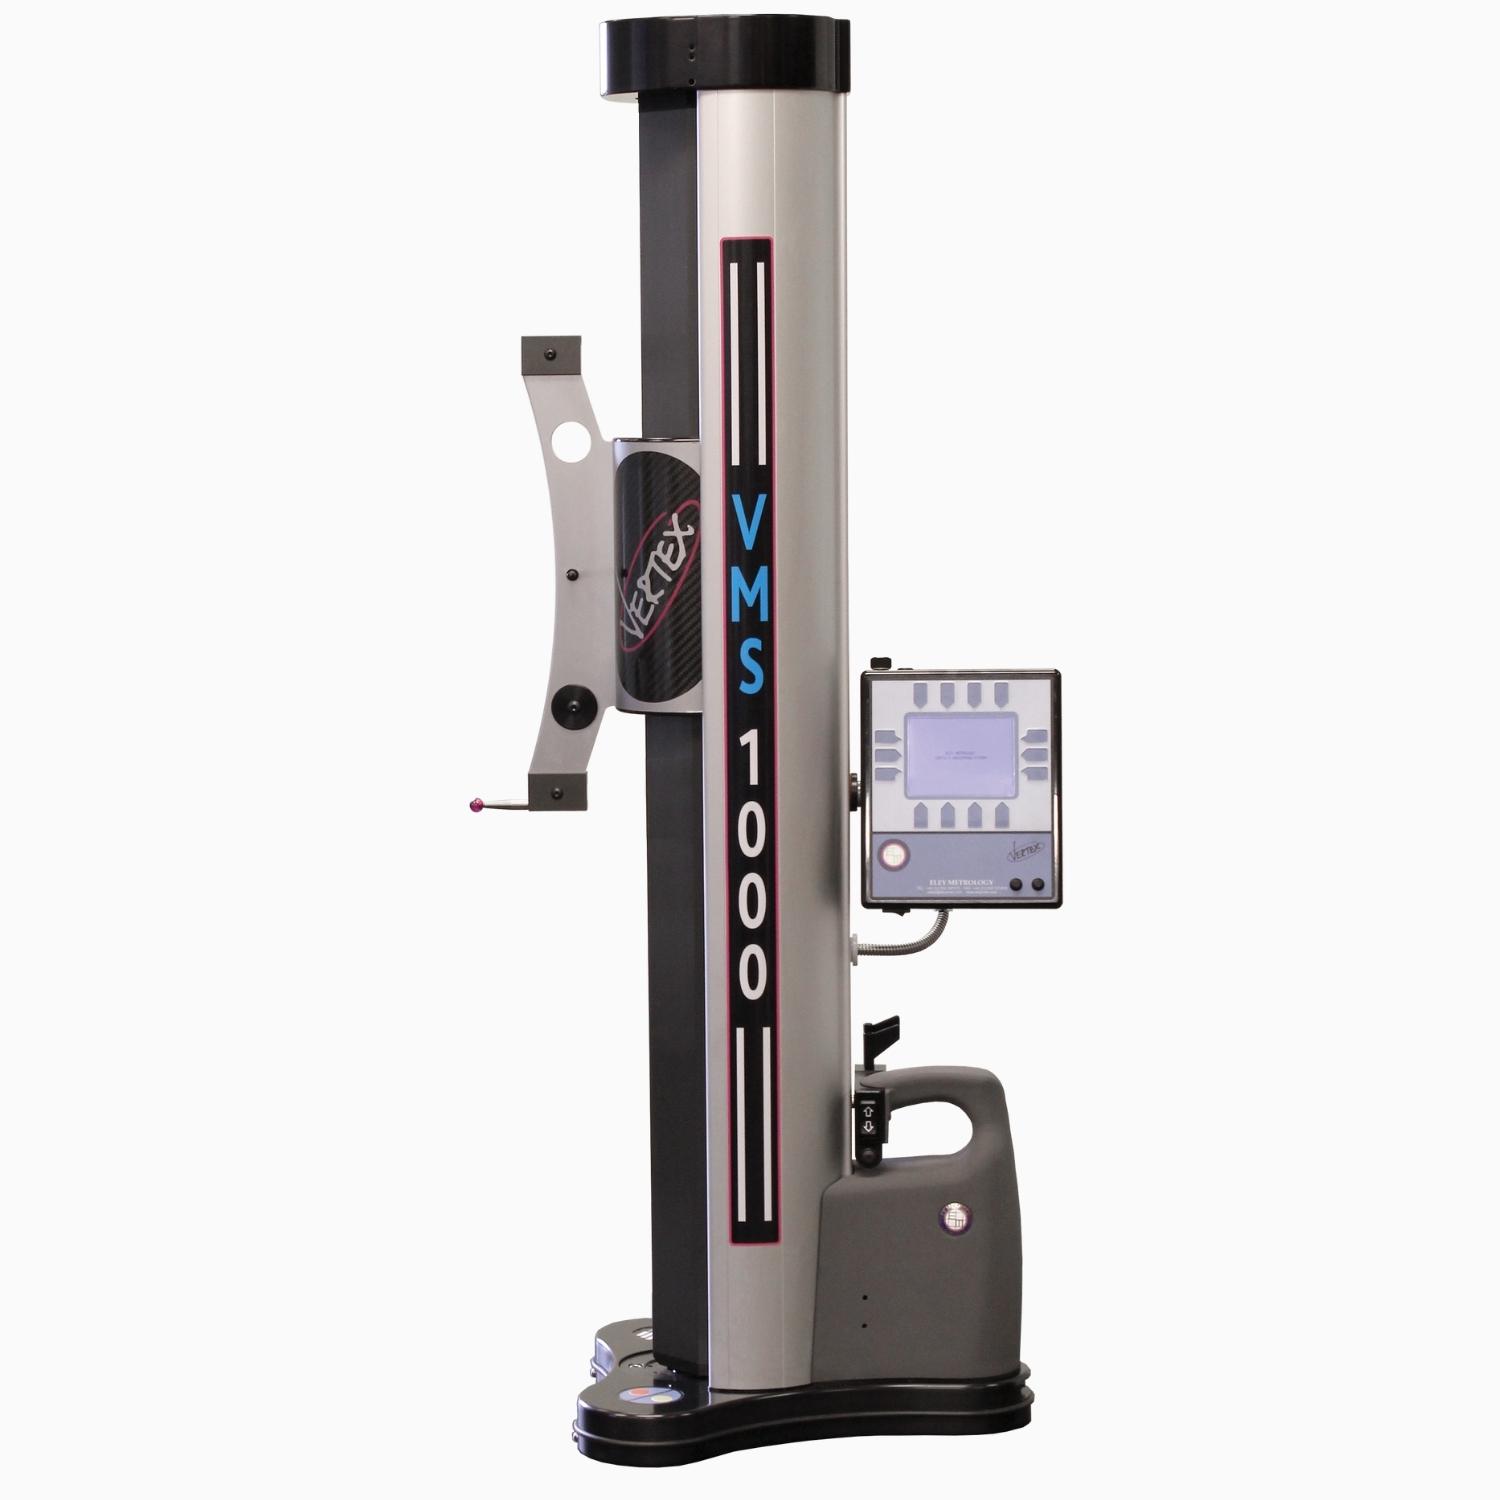
The Vertex VMS range of digital height gauges supports both 1D and 2D measurement. Some of the key capabilities for 1D measurement are outlined below;
- Comprehensive measurement of heights, drops, internal and external diameters, TDC (Top Dead Centre), BDC (Bottom Dead Centre), internal gap, external gap and centre to centre measurement
- Multiple datum facility, up to 8 assignable datums
- Comprehensive probe qualification
- Squareness measurements from front and side of surface
- Scribing facility for layout work
- Print function for ‘ALL’ or ‘SELECTED’ output
- The Vertex VMS performs all functions as fully autonomous routines with no pipes of trailing wires. If communications are needed with peripheral devices such as a printer or network, then this is achieved through the RS232C or USB facility.
2D Measurement
The Vertex range of digital height gauges also offers 2D measurement to supplement the extensive 1D functionality with powerful onboard processor firmware. 2D Capabilities Include;
- Rectangular and polar coordinates
- Alignment of features
- PCD (Pitch Circle Diameter) measurement
Electronic Control Unit (ECU)
The programmable 3 axis ECU is reminiscent of a “hole in the wall” display. The viewing area is kept clear apart from the key information being displayed. An ‘orbital keypad’ as the description implies is active around the viewing area offering the user an intuitive aspect with regard to software commands.
The viewing screen is produced from a clear, robust polycarbonate material. The tactile keyboard indicates to the user that a command has been made.
Ergonomic design provides a platform for accessing the multifunctional application software.
Vertex VMS Probes and Accessories
A small selection of the probes and accessories available for the Vertex VMS are shown below. If you have any specific requirements and don’t see a solution below, please get in touch with our team who will be happy to assist.
Sphere Probe
Available with ruby or steel spheres in 2,3,4,6 and 10mm diameters.
Uses: Internal and external diameters, heights, drops, the distance between features, centre to centre measurement or diameters.
Taper Probe
Available in 0 – 12mm and 12 – 20mm
Uses: Pitch between holes.
Disc Probe
Available in 6, 10 and 20mm diameters.
Uses: Internal and external diameters and distance. Useful for features such as circlip grooves.
Pin Probe
Available in 1.5mm and 2.5mm diameters
Uses: Measuring small features such as holes in sheet metal.
Parallel Probe
Uses: Sheet metal internal and external diameters, heights, drops and distance between features.
Sciber
Uses: Layout work on castings, sheet metal etc.


