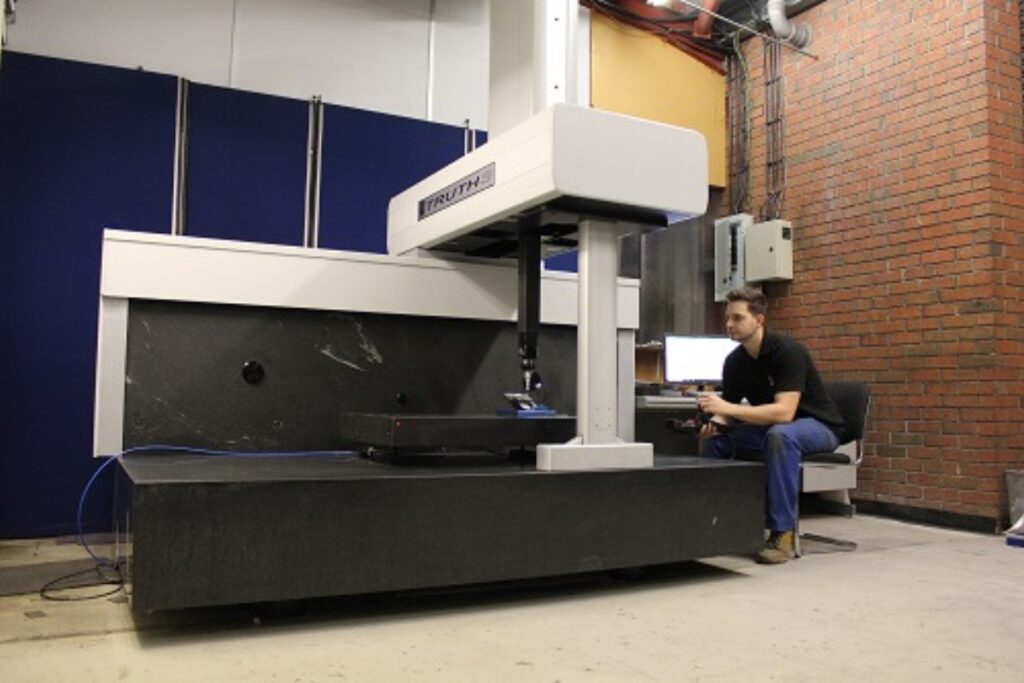
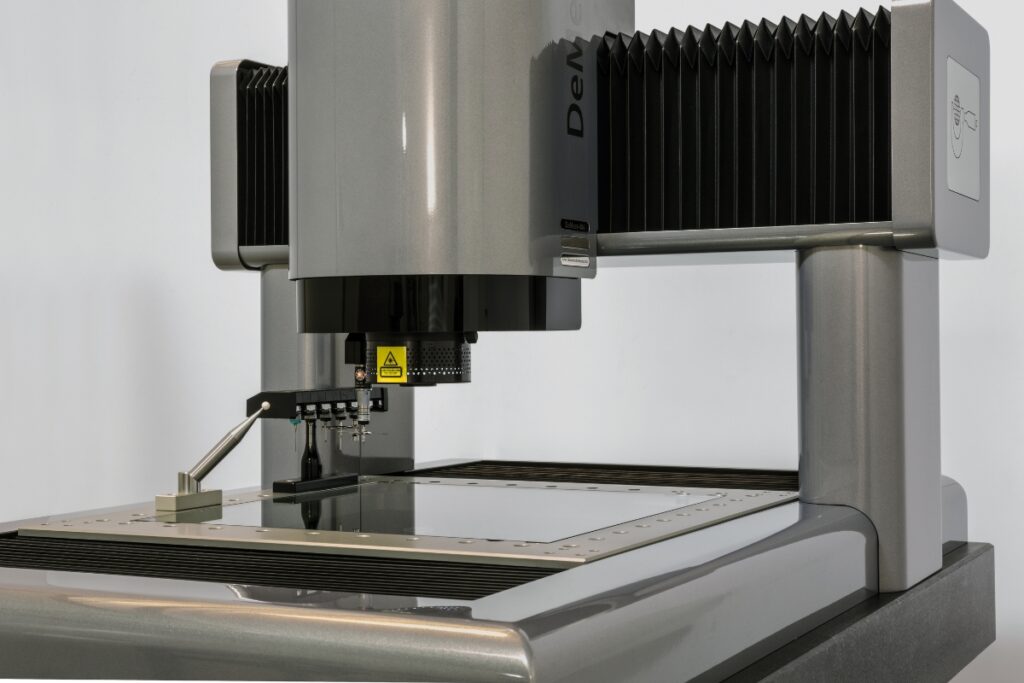
Very often, a coordinate measuring machine (CMM) is the chosen equipment to conduct measurements and compare known quantities with those being measured. Sometimes using standard measuring equipment such as callipers or comparators is not appropriate. This could be for several reasons, including the complex geometrical properties of the object being measured and the speed and precision at which measurement is required.
This article describes what a coordinate measuring machine is, its applications and the different types that are available.

What is a Coordinate Measuring Machine – Overview
The CMM is a rigid structure that uses a measurement probe and a computer system to measure objects accurately. The probe can be moved manually or computer-controlled; movement occurs along the x, y, and z-axis, and the probe angle may also be controllable. Measurements occur at discrete points on the object’s surface and are used to form a point cloud. The point cloud is a digital representation of the object of interest that computer software can process and analyse.
Using a CMM, dimensions and other geometrical features can be analysed, reported or used for comparison. For example, height, width, depth; distance between features; surface flatness and roundness; position, angles and other technical representations. This will facilitate technicians and engineers in their metrology and modelling work.
The two main types of probes can be classed as tactile or optical. The tactile probe contacts the object during measurement; the main advantage of this is accuracy and precision. Therefore, a tactile probe can be used to verify the accuracy of an optical probe; however, it’s one main disadvantage is the slow speed at which measurement takes place, which could make it unsuitable for some production environments. Further, the contact between the probe and the object’s surface may be unsuitable for some sensitive objects.
The software used with CMMs can provide advanced data analysis and reporting. The software can generate detailed reports, perform geometric dimensioning and tolerancing (GD&T) evaluations, compare measured dimensions against CAD models and provide visual representations of the measurement data.
CMM Applications
Coordinate measuring machines have various applications. For example, they are frequently used for quality control within manufacturing, where the components’ dimensions, form and position are checked for accuracy, ensuring they meet tolerance specifications. Objects measured can be compared to a standard reference. Regarding geometric dimensioning and tolerancing (GD&T), CMM machines are often used for inspection.
Another use case for a CMM machine is reverse engineering. An object can be measured and captured, allowing a model representation to be created by software which can be studied and modified.
CMM machines are extensively used in industries where accuracy and precision are critical. Examples include automotive and aeronautical, where strict tolerances exist to ensure the safe functioning of the systems built and the passengers that use the end products.
A coordinate measuring machine has several benefits over traditional hand tools.
Firstly, increased accuracy and precision allow for capturing measurements at a finer resolution. In conjunction with this, some objects, such as those with curved surfaces or intricate contours, are complex to measure and using hand tools would be impractical and imprecise. The same applies to large objects. CMM machines can automate the measuring process and accommodate complexity accurately, precisely and repeatably. The measurements are also traceable and therefore provide an audit trail of measurement, which may be a regulatory requirement in some sectors.

Types of CMM
The different types of CMM machines provide various sizes, configurations and capabilities. The main types are as follows.
A bridge CMM is the most used machine. It consists of horizontal rails supporting a bridge-like structure with a probe. This allows the probe to move along the x, y and z-axis. The main advantages of a bridge CMM are their accuracy, stability, compatibility with applications and relatively low cost. The main disadvantage is limited access to the measurement area due to the bridge structure.
A cantilever CMM is a crane-like structure with a vertical column and an arm with a probe extending from it. It can move along the x, y and z-axis. They are well suited to measuring small parts quickly because of their single-point support structure. They also achieve high accuracy.
A gantry CMM is like a bridge CMM, but it is designed to accommodate larger volumes and more complex shapes – it is directly mounted on the floor and has pillars to host the bridge. They are safer for heavy loads, although they are not portable and consume a lot of space.
A horizontal arm CMM consists of a fixed column and a horizontal arm with a probe attached. It is suitable for measuring large surfaces. Although the most cost-effective, they are the least accurate.

Jeff Eley is the founder and managing director of Eley Metrology, a leading company in the precision measurement industry. With decades of experience in metrology, Jeff has established himself as a respected figure in the field. Under his leadership, Eley Metrology has become renowned for its expertise in coordinate measuring machines (CMMs), digital height gauges, and granite metrology products. Jeff’s vision has driven the company to develop innovative solutions, including custom-designed CMMs and the flagship long-bore measurement machine (LBM). His commitment to excellence and customer-centric approach has positioned Eley Metrology as a trusted provider of high-precision measurement tools and services for industries such as aerospace, automotive, and manufacturing.

