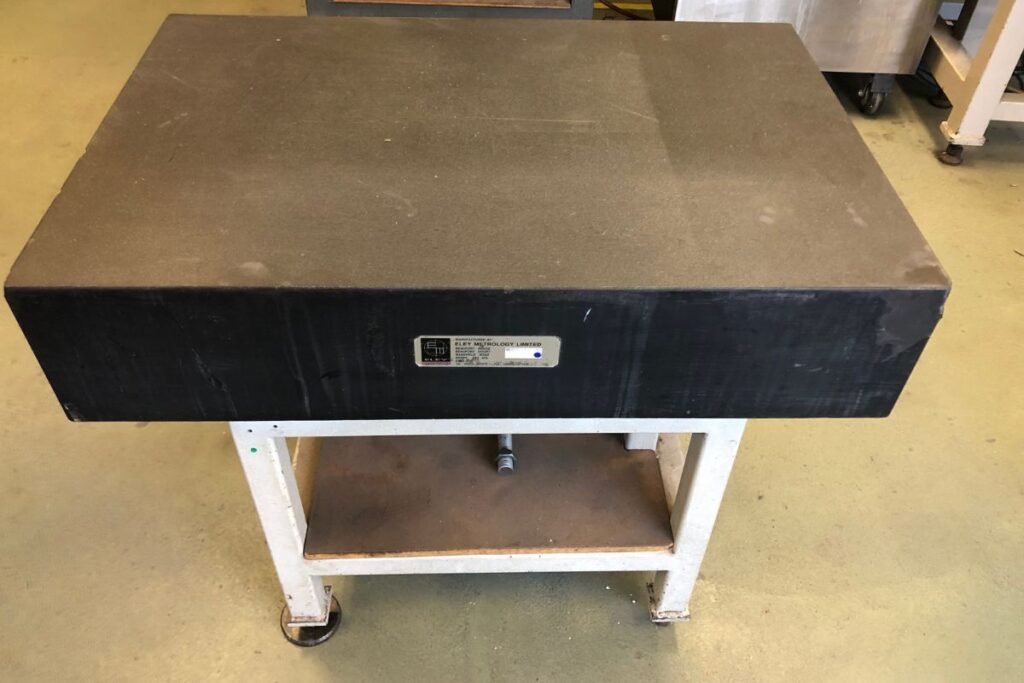
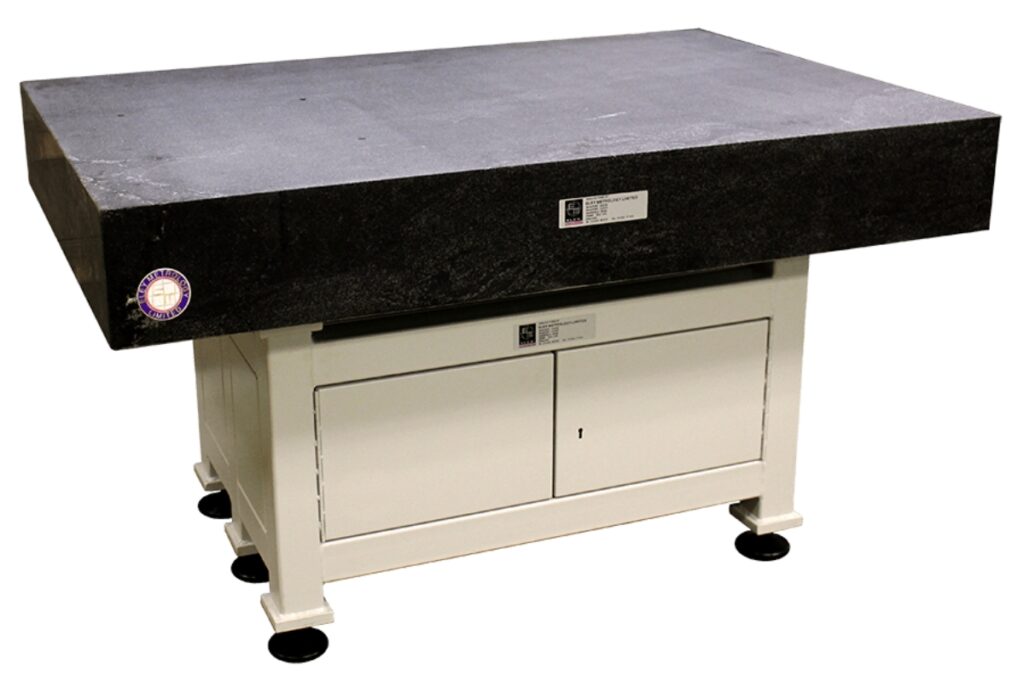
Within the fields of science and engineering, there exists an array of practices where precision is vital. One of these practices is measuring, or metrology, as it is more technically known. Surface plates are standard within metrology and indispensable in any organisation requiring a precisely flat surface. But what are surface plates exactly?
Within this article, we explore their use cases, brief history, importance to engineering and science and the properties that give rise to their suitability as a flat surface.

Use Cases
Surface plates are used whenever a flat surface is required to ensure accuracy and precision concerning measurement.
Measuring products and components is often a critical step in a manufacturing process. A flat surface, known to be within a specific tolerance of flatness, is usually required as a base from which precise measurements, such as flatness and squareness, can occur. For some industries, such as aerospace, precise measurements are necessary to ensure specifications and tolerances are adhered to within construction and testing. Further, quality assurance is another area where measurement and inspection of a final product may require a surface plate to facilitate precise measurements.
Other use cases include:
- The making of precision tools
- Marking & Layout
- R&D
- Calibration of measuring instruments such as height gauges
History of Surface Plates
Although Henry Maudslay did not invent the surface plate, as a credible machine tool inventor, he recognised the need for having a flat surface from which measurements could be standardised. Later, Crown Windley, now owned by Eley Metrology, established an industry standard for surface plates and began producing cast iron plates. Until World War 2, nearly all surface plates were made of iron, whereas they are now mostly made from granite because of its properties.
The Properties of Surface Plates
Surface plates must have several properties to ensure accuracy within different operating environments.
The surface of the plate will be tested to a high degree of accuracy; therefore, the material chosen for this surface must be capable of being flattened within specific tolerances. Complementing this accuracy of flatness is smoothness. This ensures that the flatness is consistent across the surface of the plate. A stable surface is also required for consistency.
To maximise usefulness within various environments, a surface plate must be durable. It should be rigid and tough to resist deformation through use. It should also have a low coefficient of thermal expansion to protect against changes in flatness with temperature changes and be resistant to corrosion too.
Composition
Although granite is the most common material for surface plates, other choices offer different benefits and costs.
Granite is the most abundant rock in the Earth’s continental crust. It is a very hard material, highly dense and uniform in texture. It is resistant to water and has low thermal expansion. Its durable nature makes it very suitable for use as a surface plate. For example, a chip occurs in the material as it is damaged. Unlike iron core, the area around the chip does not raise, which retains the flatness of the surface post damage.

Before granite became the preferred choice, cast iron was used. According to Wikipedia , before World War 2, most plates were made from ribbed cast iron. Cast iron is still used today, such as for producing granite surface plates.
Glass is another material that can be used.
Accuracy
Many clients of surface plate providers require assurances that the surface they are operating with has a flatness within specific tolerances. In the U.K., British Standard BS 817:2008 provides specifications and tolerances for the construction of surface plates (correct at the time of writing).
This standard classifies surface plates as grade 0, 1, 2 or 3 according to their accuracy. Grade 0 is the most accurate, specifying permitted deviations of up to 3 microns for plates with a nominal size of 160 mm x 100 mm. Grade 3 is the least accurate, specifying permitted deviations of up to 24 microns for plates of the same size.
Calibration
To maintain the precision conformity of measurements, it is crucial to ensure that a surface plate retains its flatness. Over time, continued use will affect flatness, especially with repeated localised use.
As well as adopting good practises for the use and care of the plates, frequent calibration and repair should occur. This will identify imperfections, repair the plate to restore flatness and also take steps to protect the plate with a special coating.
The frequency of calibration that granite surface plates require will depend on the type of use and the environment in which the plate is used. Generally, greater use and harsher environments will demand more frequent calibrations, which can occur on-site or in a laboratory.
The following section shares some pointers for maintaining and protecting plates between calibrations.
Maintenance and protection
Protecting the surface of the plate will help ensure it remains flat, within the required tolerances, between calibrations.
The plate should only be used for its intended purpose. For example, using it as a shelf or bench will cause additional wear, possibly introducing inaccuracies to your measurements.
You could also use a cover as a protective layer when not in use. Furthermore, frequent cleaning with suitable solutions and a cloth will help keep the surface free of abrasive matter.
Using different areas of the plate is advisable to prevent wear at localised points that incur heavy use. Further, if practical and safe, the plate can be rotated between uses.
Accessories
A range of accessories can be used with surface plates.
To facilitate the action of measuring, ledges and metal inserts, which are often part of the plate, can facilitate clamping. Straps can also secure components and instruments to prevent movement during measurement. For holding components at angles, v-blocks and angle plates can be used.
Stands are also used to facilitate comfortable use and minimise warping.
Height gauges, dial indicators, sine bars, and gauge blocks can be used to conduct measurements.
Further Information
Eley Metrology has been manufacturing surface plates for over 100 years through the Crown Windley brand. Our team are some of the foremost experts in this field and can provide advice and answer any questions you may have. Please feel free to get in touch with us via our website contact form.

Jeff Eley is the founder and managing director of Eley Metrology, a leading company in the precision measurement industry. With decades of experience in metrology, Jeff has established himself as a respected figure in the field. Under his leadership, Eley Metrology has become renowned for its expertise in coordinate measuring machines (CMMs), digital height gauges, and granite metrology products. Jeff’s vision has driven the company to develop innovative solutions, including custom-designed CMMs and the flagship long-bore measurement machine (LBM). His commitment to excellence and customer-centric approach has positioned Eley Metrology as a trusted provider of high-precision measurement tools and services for industries such as aerospace, automotive, and manufacturing.

