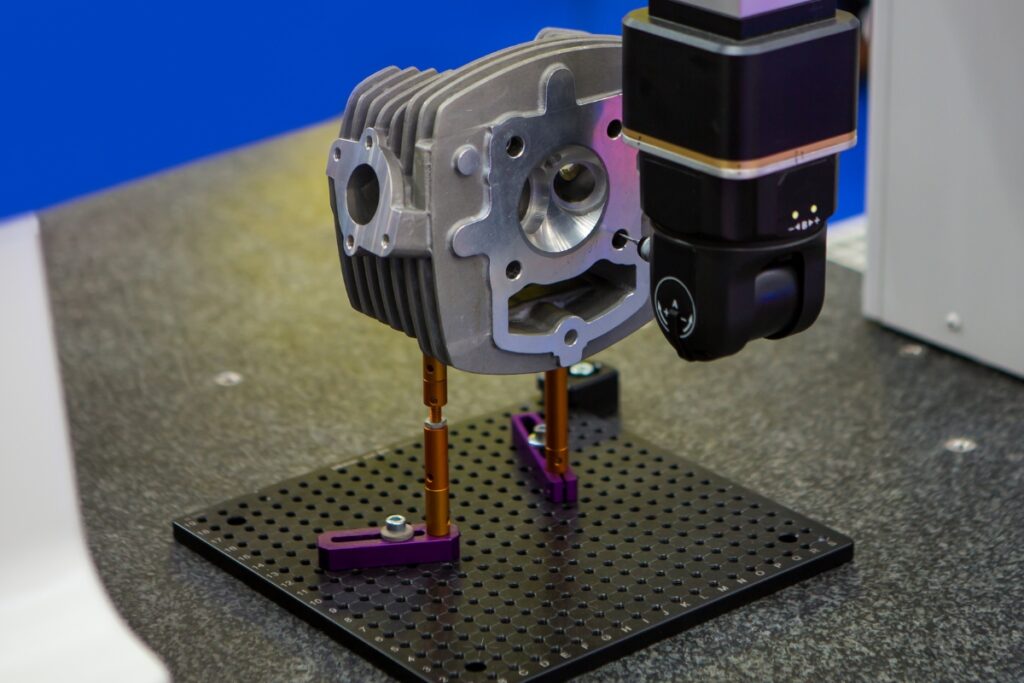
A precisely flat surface is often required within science and engineering for various use cases, such as the assembly of components and accurate and precise measuring. Surface plates, commonly made from granite, offer the degree of flatness required. However, surface plates need to be calibrated and resurfaced at regular intervals to ensure the continuity of their flatness and meet any compliance requirements.
This article explores calibration and why ensuring that the plate perpetually performs its function to the standard required is essential.

Common Uses of Surface Plates
Some use cases mandate that a surface plate is flat to a high degree of accuracy and within precise tolerances, often according to the grading offered under BS 817:2008. This is usually the case in industries such as medicine, aerospace and automotive, where the potential for harm due to inaccuracies in assembly or measuring is high.
Aside from being assured of accuracy and precision, these organisations must also incorporate procedures for demonstrating compliance, traceability and quality control. Therefore, frequent calibration is essential.
What is Calibration and Resurfacing?
Granite surface plate calibration is the process of verifying the plate’s flatness and making the necessary physical adjustments to restore the surface to specification. This will maintain the accuracy and precision of the plate over time.
Due to wear and tear through use, the surface of the plate will eventually lose its flatness in places. Therefore, calibration is required. This may also be the case for the tools used with the surface plate.
During the calibration process, the surface plate will first be cleaned to remove any dirt or debris that could affect the process. A precise horizontal plane is then established from which flatness measurements can occur. Next, the flatness is measured using highly accurate instruments that are themselves calibrated. Systematically, the imperfections are found, recorded and analysed. If any tolerances are exceeded, then through a process known as lapping, the surface flatness is restored and coated with a protective finish. The adjustments and work carried out should be documented.
The frequency and form of calibration will be determined by several factors, including the:
- use case for the plate
- equipment used
- frequency of use
- organisational policy
- equipment specifications
- compliance standards
Calibration can either take place onsite or offsite at a UKAS-accredited laboratory.
Why is Calibration Important?
Ultimately, calibration is required to ensure that the flatness of the entire surface plate remains within tolerances throughout its use. When you consider some of the use cases of surface plates, it is easy to visualise why this is crucial.
Consider the medical industry. The precision of measurement will be critical for the assembly and quality checks of various equipment and technologies, such as surgical instruments and prosthetics. The patient’s comfort, mobility and safety could be impaired should they not be.
As another example, consider aerospace. With so many components and systems working together, accurate and precise measurement is critical for the safe performance of the aircraft.
In such safety-critical environments, surface plates can be heavily used. Unfortunately, this increases the wear and tear placed upon the plate leading to inaccuracies that could creep into production and eventually lead to lower quality and increased production costs.
Effective calibration is intended to maintain the flatness to maintain the quality of assembly and measurement. This, in turn, leads to lower production costs.
Further to this, regular calibration, maintenance and correct use can extend the plate’s longevity.
Maintenance Suggestions
With adequate maintenance, you can maximise the effectiveness of granite surface plates and preserve their longevity. This includes workshop practices in addition to calibration.
The surface plate should be used exclusively to fulfil its role of providing a flat surface. Avoid introducing contaminants through actions such as placing items on the plate that do not belong there – this includes food and drink. Over time, such contaminants may introduce additional wear and tear and staining that will affect the surface of the plate. You could consider a cover to protect the plate when unused.
Care can be taken to increase longevity even when using the surface plate only for its intended use. Although granite is durable, frequent contact with rough or jagged edges can result in damage. Therefore, minimising impacts and distributing loads evenly across more expansive areas rather than concentrating them on specific points is essential to minimise any damage.
Further, by utilising the whole space of the surface plate, you can avoid repeated use of the same area. This will minimise wear and tear in one place. Care should be taken if the surface plate is heavy and needs to be moved or rotated; if necessary, use appropriate equipment.

Jeff Eley is the founder and managing director of Eley Metrology, a leading company in the precision measurement industry. With decades of experience in metrology, Jeff has established himself as a respected figure in the field. Under his leadership, Eley Metrology has become renowned for its expertise in coordinate measuring machines (CMMs), digital height gauges, and granite metrology products. Jeff’s vision has driven the company to develop innovative solutions, including custom-designed CMMs and the flagship long-bore measurement machine (LBM). His commitment to excellence and customer-centric approach has positioned Eley Metrology as a trusted provider of high-precision measurement tools and services for industries such as aerospace, automotive, and manufacturing.

