Surface plates have played a vital role in the evolution of precision engineering and manufacturing. Understanding their history provides insight into the foundations of modern metrology and manufacturing excellence.
This article will explore the history of surface plates, tracing their development from early cast-iron designs to modern precision granite surfaces, and highlighting their crucial role in advancing measurement and manufacturing accuracy.
Origins and Early Development of Surface Plates
In an era where each part was hand-fitted, precision meant grinding, filing, and scraping by hand; as a result, many parts lacked interchangeability. Henry Maudslay, a tool and die maker and inventor, worked at Bramah’s workshop as a blacksmith and machine fixer for eight years.
During this period, he took inspiration from Joseph Bramah’s celebrated burglar-proof lock, whose unmatched precision in manufacture ensured it remained unpicked for 67 years. It was this level of precision that led Maudslay to recognise the need for standardisation and the importance of surface plates to achieve precision in machine tool production.
Having been refused a wage increase, Maudslay decided to set up his own business and hired many notable British engineers during the Victorian period, including Joseph Whitworth.
While Henry Maudslay developed a manual scraping method to produce extremely flat cast-iron plates, providing essential reference surfaces for precision measurement and machining, Joseph Whitworth further refined, described and publicised this process in his first paper, ‘Plane Metallic Surfaces or True Planes ’ in 1840.
Whitworth’s work helped standardise manufacturing practices and enabled the reliable production of interchangeable parts by introducing surface plates and precision measurement in industry. As a result, the surface plate became the foundation of precision, a stable, durable, truly flat surface against which everything else could be referenced.
How Precision Engineering Took Shape
With the development of flat plates using Joseph Whitworth’s three-plate method with cast-iron plates, each of equal size and proportionate strength, engineers from the mid-19th century onward gained the ability to produce surfaces flatter than could be measured at the time.
This innovation enabled accurate layout work, improved quality control and standardised inspection methods. Surface plates provided machinists with stable, highly accurate reference planes against which flatness, squareness and parallelism could be checked with unprecedented precision.
This level of accuracy supported the emergence of interchangeable parts, tighter tolerances and modern mass-production techniques during the Industrial Revolution.
By 1904, the British company Crown Windley was producing cast-iron surface plates used as accurate reference surfaces in workshops and factories, thereby improving measurement and quality control. However, during the 1940s, the Second World War created a surge in demand for metal, making it increasingly scarce for industrial use.
From Cast Iron to Granite
It was during this period that Wallace Herman, a monument and metal shop owner in the United States, and his inventive employee Donald V. Porter began using granite in place of metal for their surface plates.
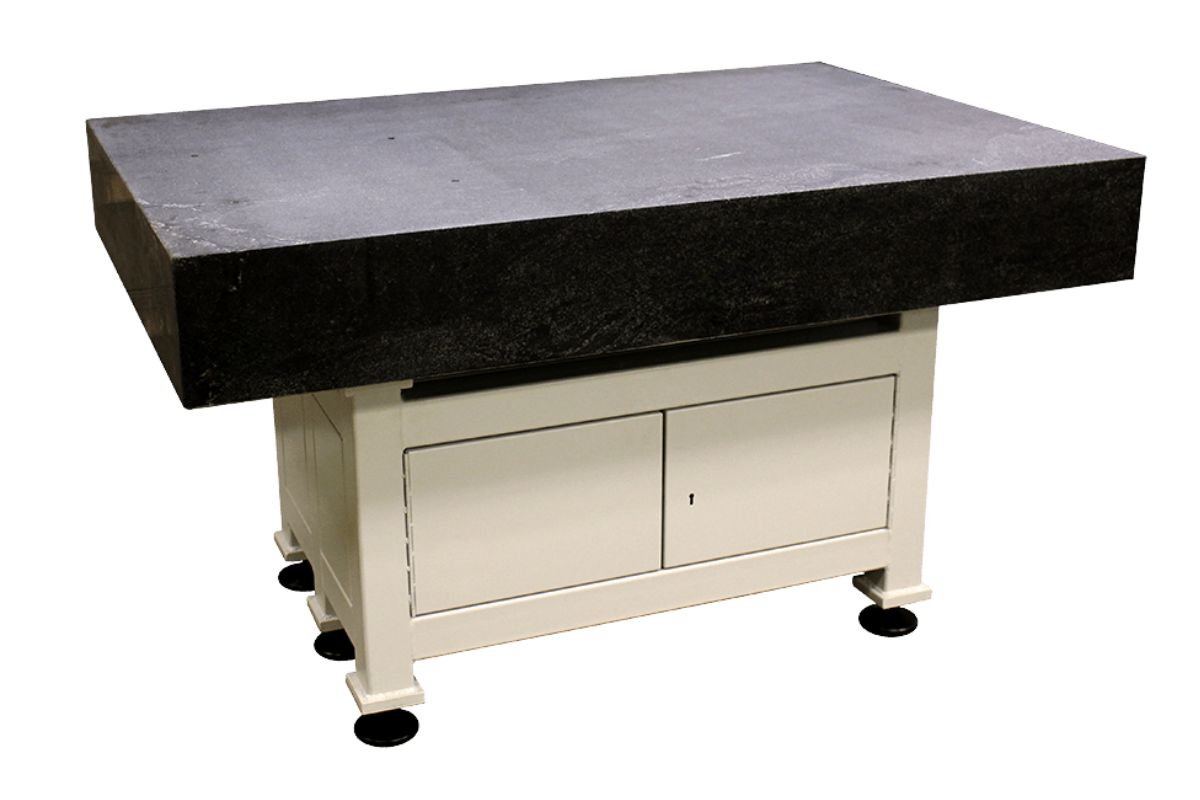
The history of surface plates was being redefined. Crown Windley carried out similar investigations across the Atlantic and confirmed the advantages of granite over metal. While iron castings required lengthy stress-relieving processes to stabilise their structure, granite, having undergone natural geological weathering over millennia, was inherently stable and stress-free.
This innovative shift from cast iron to granite plates demonstrated that they were stronger, more accurate, and more resistant to wear, rust, heat and magnetism. This made granite the preferred material for surface plates, and its use grew as technology advanced.
As granite plates became more established, Eley Metrology acquired Crown Windley in 2002. Eley had been producing premium granite surface plates since 1976 and had also developed coordinate measuring machines (CMMs) that were built entirely on granite guides.
These guides are hand-lapped to tolerances as fine as 2 microns, providing them with exceptional flatness and straightness, making them perfect for air bearings. Additionally, Eley’s CMMs, along with the Long Bore Machine (LBM), use granite in their main bed and X–Y axes.
This gives them a level of precision that no other material can match, firmly establishing granite as the standard for surface plate technology.
By standardising measurement practices worldwide, granite surface plates have helped transform manufacturing from skilled craftwork into a science of precision. Their influence remains critical today as the foundation of modern metrology and high-accuracy engineering.
Standardisation and Calibration
Surface plates are precision reference surfaces essential for inspection, measurement and marking-out operations. Their accuracy and stability are critical in manufacturing and metrology. To ensure uniform quality, BS 817:2008 specifies requirements for materials, sizes, accuracy grades, tolerances and inspection methods.
Plates are commonly made from cast iron or granite and are classified into Grades 0, 1, and 2 based on permissible flatness deviations. Ultimately, standardisation allows industries to maintain consistent measurement accuracy, interoperability and quality control.
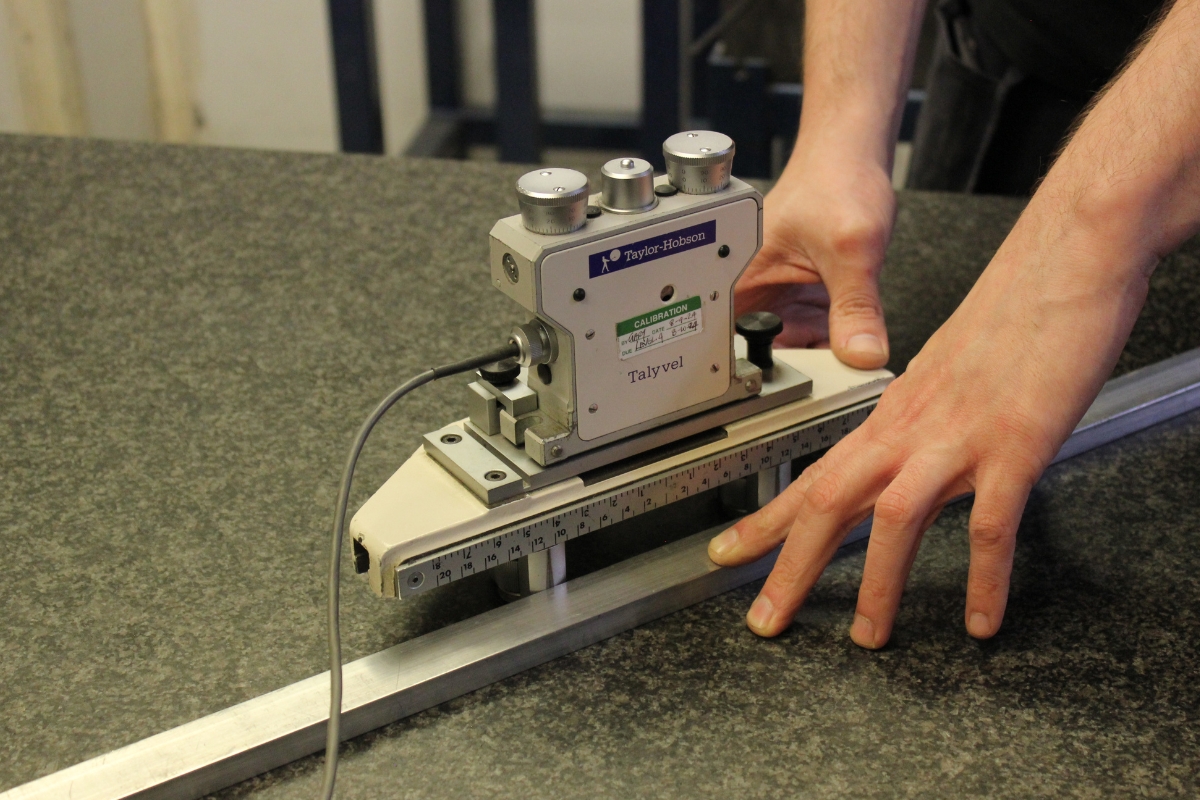
Proper support, marking, and periodic calibration —the process of comparing measurements to a known standard and correcting any deviations —are also mandated to preserve their precision and reliability through regular verification. This standard has helped unify engineering practices across workshops and laboratories.
Modern Metrology
In today’s metrology world, precision, consistency, and traceability rely on surface plates and accessories, such as support stands, threaded inserts, and cleaning fluid, playing a fundamental role. These plates provide a stable, flat reference for accurate dimensional measurements across various industries, including aerospace, automotive, and precision engineering.
Advanced technologies, such as coordinate measuring machines (CMMs), laser scanners, and autocollimators, now integrate seamlessly with surface plates to enhance accuracy and repeatability.
Standardisation, regular calibration and environmental control maintain their integrity over time. In modern quality assurance, surface plates remain a vital foundation for precise measurements and reliable inspection processes.
Legacy and Continued Importance in Metrology
The legacy of Henry Maudslay and Sir Joseph Whitworth endures in every machine shop and metrology lab. Their focus on flatness, interchangeability and standards laid the foundation for modern practice.
Today, granite surface plates underpin CMM setups, height gauge work, and flatness verification. Their continued calibration and resurfacing highlight their importance.
Overall, from Maudslay’s flats to Whitworth’s scraping to today’s granite references, measurement still begins with a flat surface, a legacy carried forward with every precision inspection.

Jeff Eley is the founder and managing director of Eley Metrology, a leading company in the precision measurement industry. With decades of experience in metrology, Jeff has established himself as a respected figure in the field. Under his leadership, Eley Metrology has become renowned for its expertise in coordinate measuring machines (CMMs), digital height gauges, and granite metrology products. Jeff’s vision has driven the company to develop innovative solutions, including custom-designed CMMs and the flagship long-bore measurement machine (LBM). His commitment to excellence and customer-centric approach has positioned Eley Metrology as a trusted provider of high-precision measurement tools and services for industries such as aerospace, automotive, and manufacturing.


