
Last month, we looked at height gauges, from their origins to the different types of mechanical and digital height gauges now available. In this post, we are going to discuss how you take measurements with a height gauge.
As last months blog showed, there are a number of different types of height gauge. From relatively basic models to those with a whole host of extra features and tools to make measurements more accurate. However, the vast majority of height gauges do share similarities in the way they take measurements.
Steps to Take Before Measurement
Before you can begin to take measurements with a height gauge, several steps that will help ensure accuracy must first be performed.
The first, and possibly, the most important step is to ensure you have a stable and flat surface on which you will carry out your measurements. The best way to achieve this is by using a granite surface plate or table. Granite makes an ideal measuring surface as it is extremely sturdy and hard-wearing. It is also free from temperature distortion.
Once you have your granite surface on which you will measure, then you need to ensure it is clean and free from debris. This can be done by using a specialist granite cleansing fluid which will effectively remove any oil, grease, cutting fluid and dirt build-up. A similar cleaning process should also be carried out on the base of your height gauge.
Once you are satisfied that both the granite surface and gauge base are free from dirt and debris, you should run a test to ensure that the two surfaces mate correctly. This is done by mounting a test indicator to the scriber. Move the indicator to the surface and then zero the gauge. Press down softly on the base of the gauge, if the indicator moves, then the surface is not level. Check and re-clean both surfaces and perform the test again. If the indicator continues to move, then, you will need to consider resurfacing and recalibrating your granite surface. You may also need to service and recalibrate your height gauge. Both of these tasks should be performed by a UKAS accredited laboratory.
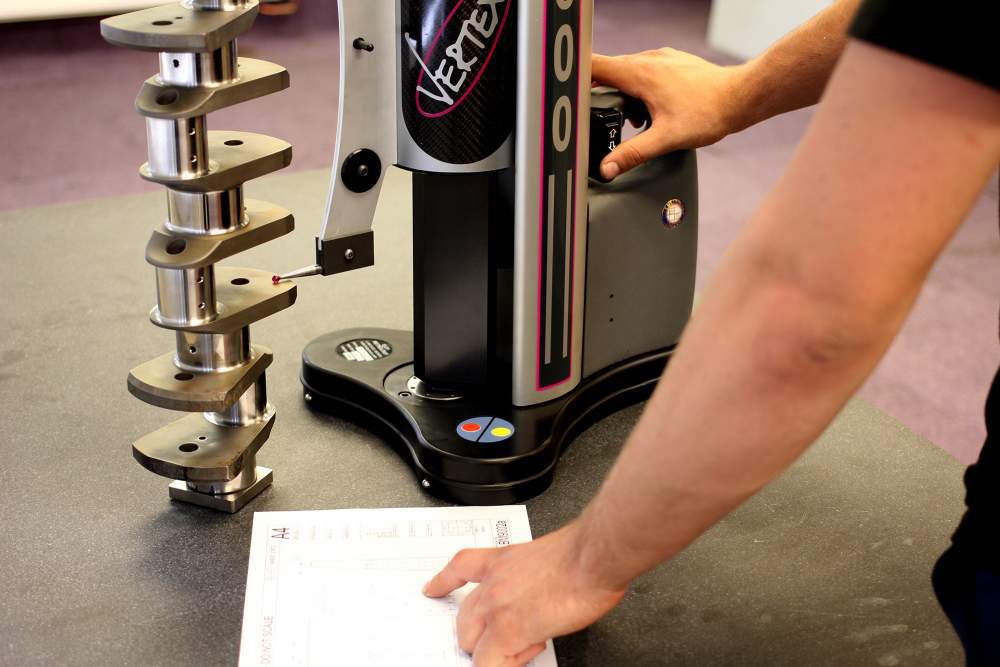
Taking Measurements with a Height Gauge
Almost all height gauges come equipped with a scriber which is used to find the top of the piece being measured. If a more accurate measurement is needed, then a test indicator or high-accuracy probe is often used.
Typically mechanical dial height gauges are equipped with a scriber and a test indicator. Digital height gauges will generally have a scriber and a touch probe. By using the touch probe, an operator can accurately determine the difference between two distances as well as detect zero. Touch probes can also send measurements to a data collector or, advise the operator that a measurement has been completed and accurate readings are ready to be taken.
Mechanical height gauges have always struggled to measure the distance between centres accurately. This issue was overcome by the introduction of height gauges with calculation functionality. This means that a height gauge now has the capacity to store the lowest and highest points within a sweep. The height gauge is still only capable of 2D measurement. However, high and low points can be recalled from the device’s memory.
Digital height gauges use several different sizes and types of probe. They are used to help increase accuracy, to measure different types of workpieces and also correctly measure very small features.
More Information
Eley Metrology is one of the UK’s leading manufacturers of digital height gauges. Our market-leading Vertex VMS is packed full of features and can be used in a wide range of industries.
If you would like more information regards our range of height gauges or any of our other coordinate measuring machines, then please don’t hesitate to contact us. We can provide on-site demonstrations, and we offer full training and support programs to help maintain accurate and trouble-free measurements.