Height gauges have long been essential tools in precision measurement. From their early mechanical designs to today’s digital and advanced electronic models, these instruments have continuously evolved to meet the growing demands for accuracy and efficiency.
This article will explore the history of height gauges to highlight the progress of metrology and how innovation has shaped modern industry standards.
What is a Height Gauge & How Does it Work?
A height gauge is a measuring instrument primarily used to determine the height of an object or mark items with precise vertical dimensions. It’s typically mounted on a stable base and features a vertical scale and a movable measuring slider equipped with a scriber or probe.
An operator will position the slider at the desired point, which can then be read directly on the scale or, in modern systems, displayed digitally. Height gauges can also be paired with surface plates to ensure stability and flatness, further enhancing measurement accuracy.
Eley Metrology’s History
Eley Metrology was founded in 1976 by Managing Director Jeff Eley and has since grown to the forefront of Metrology. As the UK-based company approaches 50 years, and with the sole purpose in mind that their products must be affordable and offer value for money, it has introduced numerous innovations, including the first UKAS accreditation for ISO 10360 in 1991 and the development of custom solutions such as the Long-Bore Measurement machine.
In 2002, Eley expanded further by acquiring Crown Windley, a company founded in 1904 and internationally recognised for its granite and cast iron surface plates and tables. These products provide an ideal, stable foundation for precision measurement when used with a height gauge, reinforcing Eley’s expertise.
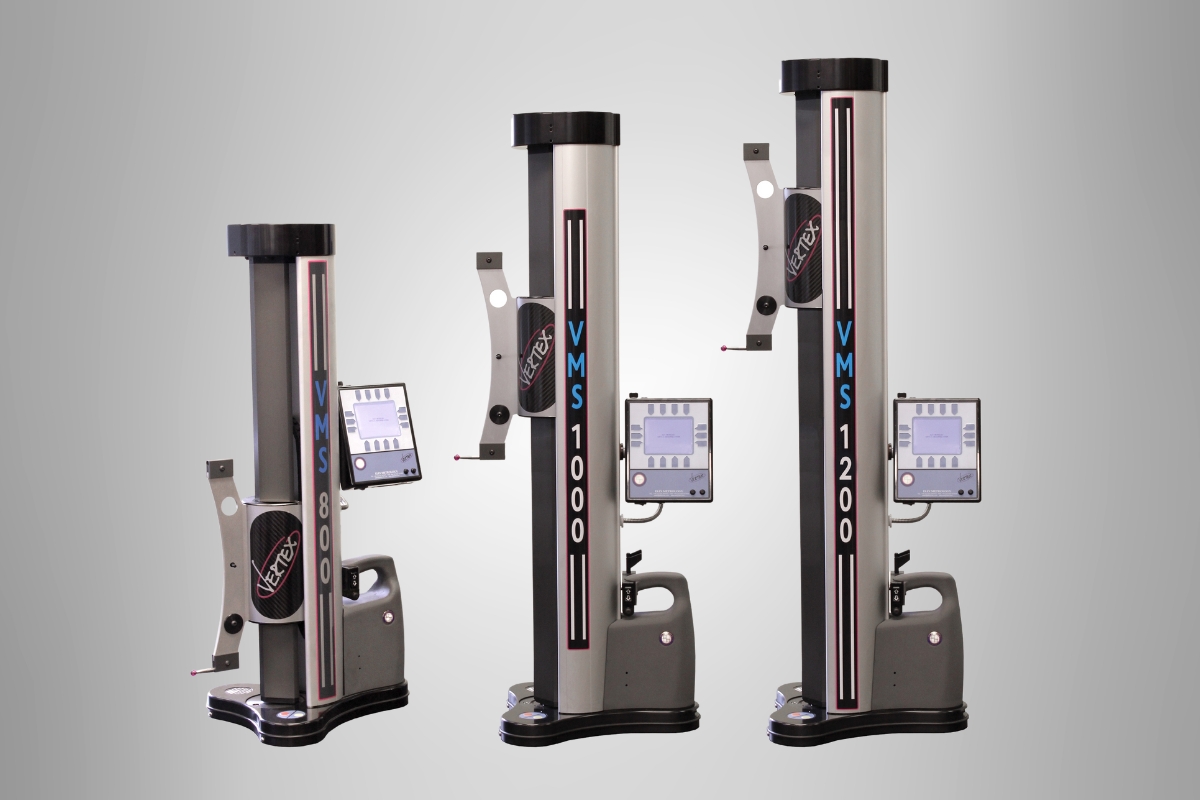
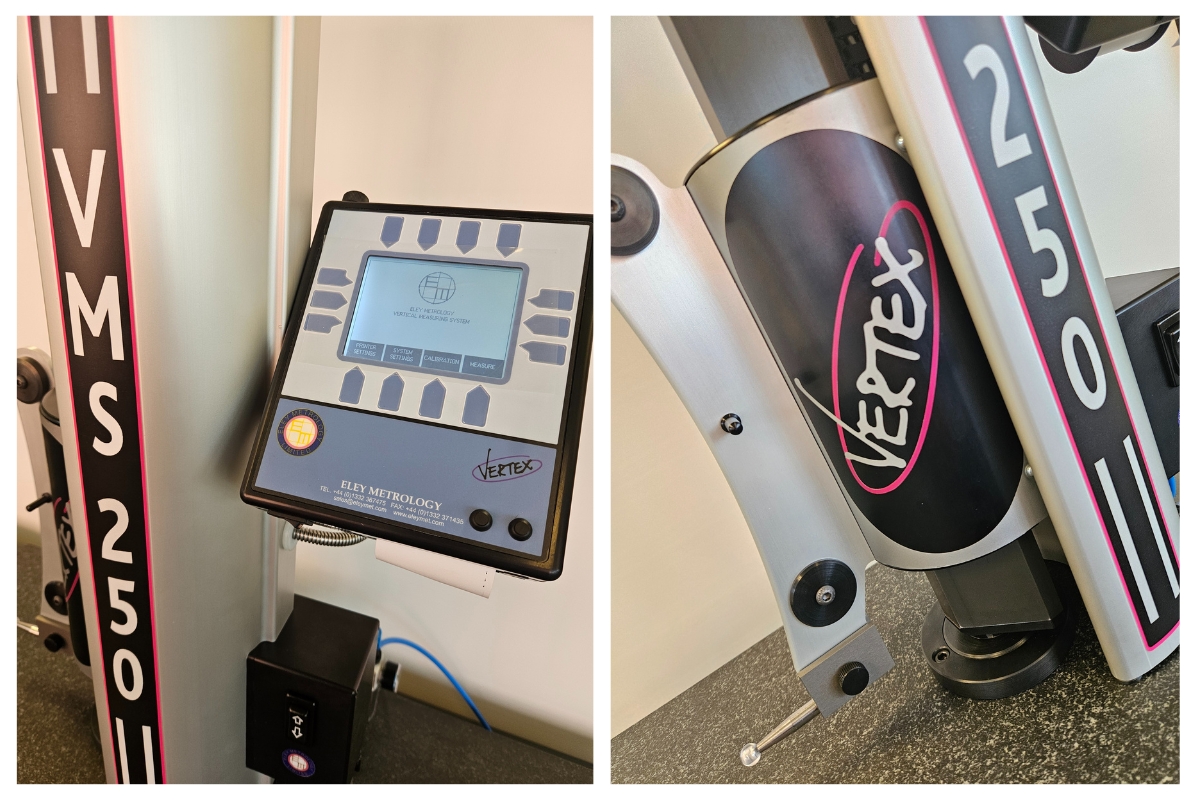
Then in 2013, Eley launched the Vertex VMS height gauge, which quickly became one of its signature products. Initially offered in 800 mm, 1000 mm, and 1200 mm sizes, the range has now expanded to give customers even more choice, ensuring the right fit for a wider variety of measurement needs.
Overall, Eley Metrology has remained dedicated to advancing measurement technology while supporting industries from aerospace and automotive to oil and gas, serving both major manufacturers and quality control labs.
Height Gauges Through History:
Early Precursors
The origins of height measurement can be traced back to simple tools such as rulers, callipers and dividers. Ancient artisans relied on these basic devices to mark and measure, but their accuracy was limited, often depending on the skill and steady hand of the user.
However, with the advent of metalworking and precision machining during the Industrial Revolution, the demand for more reliable measurement tools grew significantly. As a result, the early surface plates that were often made of stone or cast iron were designed to provide the stable reference plane necessary for accurate vertical measurements. From this foundation, simple scribing blocks emerged, serving as the introduction of height gauges, advancing industrial progress.
These scribing blocks allowed machinists within factories to mark consistent lines at set heights, a vital step in creating interchangeable parts. Although lacking fine adjustments, they represented a significant improvement over manual methods. By enabling machine operators to achieve greater consistency, these precursors laid the groundwork for modern metrology. Without these early steps, the sophisticated height gauges used today would not have been possible.
Mechanical Height Gauges
As precision engineering advanced in the late 19th and early 20th centuries, mechanical height gauges emerged as standardised tools, gradually replacing scribing blocks. These instruments typically featured a rigid vertical beam mounted on a heavy base to ensure stability. A vernier scale or dial was incorporated to allow users to read measurements with far greater accuracy than the simple scribing blocks.
Additionally, the movable slider, often equipped with a scriber, could be finely adjusted using micrometre screws, enabling precise marking of workpieces. This combination of features marked a significant leap in metrology, supporting the growing demands of industries such as automotive and aerospace.
Mechanical height gauges quickly became indispensable within the inspection departments and machine factories, providing both measurement and layout capabilities. They also reinforced the importance of using flat, accurate granite surface plates to guarantee reliable results. Consequently, the use of hardened materials and finely ground surfaces improved durability and accuracy, even during heavy use.
Though later innovations improved precision and usability, mechanical height gauges laid the foundation of modern measurement, proving that repeatable, objective measurement was essential for industrial efficiency and quality control.
Digital & Electronic Advances
The late 20th century brought significant technological shifts in measurement, leading to the development of digital height gauges. This led to eliminating the need to interpret vernier scales or dials. Instead, digital height gauges used electronic sensors to detect movement along the vertical axis, displaying measurements clearly on an electronic screen.
This advancement not only reduced the risk of human error but also improved speed and usability. Many digital models also incorporated zero-setting functions, preset values and data output capabilities for integration with computer systems. This was a significant advantage in quality management, for it made it possible to record, analyse and transfer measurement data directly.
Moreover, electronic probes further enhanced precision, offering micron-level accuracy and the ability to measure more complex geometries. These innovations aligned with the rise of computer-aided design and manufacturing (CAD/CAM), allowing height gauges to support increasingly sophisticated production processes.
The introduction of rechargeable batteries and lightweight materials improved portability, while still maintaining the stability needed for accurate results. Digital height gauges represented not just a refinement of existing tools but a revolution in usability and integration, bridging the gap between traditional mechanical systems and fully automated metrology solutions. Digital height gauge experts have played a crucial role in advancing these innovations and their practical applications.
Modern High-Precision Systems
Modern height gauges are high-precision, multifunctional systems that integrate seamlessly with advanced manufacturing. Equipped with electronics, they deliver micron and sub-micron accuracy, often featuring motorised carriages, automated probes and touchscreen controls.
Connectivity with quality software supports Industry 4.0, enabling real-time data use for more innovative production. With their durability, ergonomic designs, wireless transfer capabilities, and environmental compensation, they remain essential on both laboratory floors and manufacturing floors.
Ultimately, height gauges continue to evolve, maintaining their place as important tools in modern dimensional metrology.

Jeff Eley is the founder and managing director of Eley Metrology, a leading company in the precision measurement industry. With decades of experience in metrology, Jeff has established himself as a respected figure in the field. Under his leadership, Eley Metrology has become renowned for its expertise in coordinate measuring machines (CMMs), digital height gauges, and granite metrology products. Jeff’s vision has driven the company to develop innovative solutions, including custom-designed CMMs and the flagship long-bore measurement machine (LBM). His commitment to excellence and customer-centric approach has positioned Eley Metrology as a trusted provider of high-precision measurement tools and services for industries such as aerospace, automotive, and manufacturing.


